FontPack Main Page
1. Start up FontPack

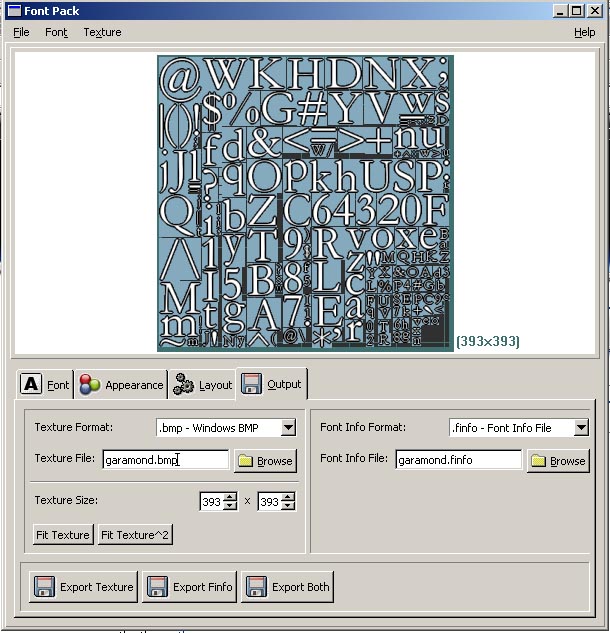
When you start up Fontpack, it should appear as above.
2. Selecting the font.

Let's add another character set. Click on one of the blank
lines in the character set list.
Change the PxlSz to "20" and hit OK.
Press the "Update Charset" button to tell FontPack to regenerate the
new glyphs.
3.Picking a font
Click on the "browse" button beside the font name to choose a font.
Select a font that you like.
TIP:The FOX File Browser which FontPack uses has some cool features,
you can use the flag button to set a bookmark at C:\WINNT\FONTS\ or whereever
your fonts are kept, and then jump back to it, even after you quit and restart FontPack.
BUG ALERT: There's not much error handling here. If a font is
unsupported, fontpack will just crash. Most fonts work, though.
4.Glyph Appearance

Click on the "Appearance" tab to set the appearance of the glyphs.
You can adjust the color and the border width. Your changes are shown in the
preview window on the right side.
Press "Update" to apply your changes to the characters in the main layout window.
5. Layout

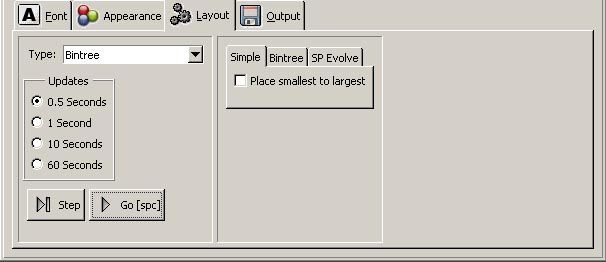
Click on the "Layout" tab place the glyphs in the texture.
There are three types of Layout available:
- Simple Layout
- Simple layout leaves the width of the texture unchanged and puts glyphs
in a row at a time. This doesn't work very well. You probably won't ever
use this.
- Bintree Layout
- Bintree Layout uses a technique described
here
by Jim Scott. This approach works very well, and better yet, it is
blazingly fast. Most of the time, this is the layout type you want to use.
- SP Evolve
- This means "sequence pair evolve". This layout is based on a the paper:
Arbitary Rectilinear Block Packing Based on Sequence Pair
Kang, Maggie Zhiwei and Dai, Wayne Wei-Ming.
(although I didn't get as far as the "arbitrary rectilinear" part, this only
handles boxes). This works by taking a genetic algorithm approach. It is very,
very slow, but produces very good results, eventually. It is fun to play with this if you have around 40 glyphs or less, or leave it running and go camping
for the weekend. Once the controls panel for this is implemented it will be
possible to get some useful results from this.
For now, leave it set to Bintree and press "Go". Nearly instantly, the glyphs should appear in the layout window.
6. Export

Click on the "Output" tab export the glyphs into a texture.
Use the "Browse" buttons, or just type in a name for your texture and
your font info file. Right now, only BMP output works. Eventually, you
will be able to output a C++ file and compile the font right into your
game.
Pressing "Fit Texture" will fit the texture to the glyps, in case the layout
left some extra space. If you are planning to use this font in OpenGL, hit the "Fit Texture^2", which will make the texture the smallest power of two dimensions (such as 256x512) that hold all of the glyphs.
Now, hit "Export Both"
7. Results
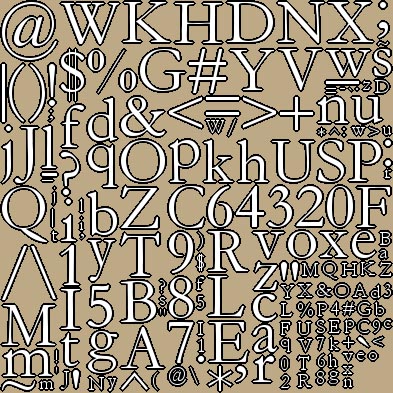
You should now have a nice BMP file like this:
(The colors are wrong in this image but you get the idea)

And an ".finfo" file which has something like this in it:
# fontinfo file generated from c:\WINNT\Fonts\GARA.TTF for image garamond.bmp
# char pxlsize baseline x y w h
33 64 41 47 62 10 46
34 64 43 279 260 21 22
35 64 43 187 47 41 48
36 64 43 59 47 27 56
You can use the included glgamefont library to read and display these files. They are meant to be very simple, so it is easy to write something that reads them.
The fields are:
- char - The ASCII character code for this glyph.
- pxlsize - The font size of this char, in pixels.
- baseline - The location of the baseline (this may be negative).
- x, y - The position of the glyph in the font texture.
- w, h - The size of the glyph in the font texture.
In the future, this file will also hold kerning tables, and maybe some other
stuff. I also am thinking about having an .XML export functionality.
Back to Main Page


